


Excellent guide!
How To Setup Ledger Stax - A Step-By-Step Guide
|
|
⌛ Time to read 7 min
|
|
⌛ Time to read 7 min
In the fast-paced world of cryptocurrencies 🌐, safeguarding your digital assets is more important than ever. The Ledger Stax is a next-generation hardware wallet 🔒, designed to deliver exceptional security for your crypto holdings. Unlike software wallets 💻, which are vulnerable to malware and hacking attempts, hardware wallets like the Ledger Stax offer offline (cold) storage ❄️, keeping your assets safe from online threats.
Combining robust security features with a sleek, user-friendly design 📱, the Ledger Stax is an excellent choice for both beginners and experienced crypto enthusiasts 🚀.
This guide provides a step-by-step walkthrough 📘 for setting up your Ledger Stax, ensuring your digital assets are protected from day one. From unboxing the device 📦 to transferring your first crypto funds 💰, each step is clearly explained to make the setup process smooth and hassle-free. Whether you're new to the crypto world or looking to strengthen your security setup, this guide will help you get started with confidence ✅.
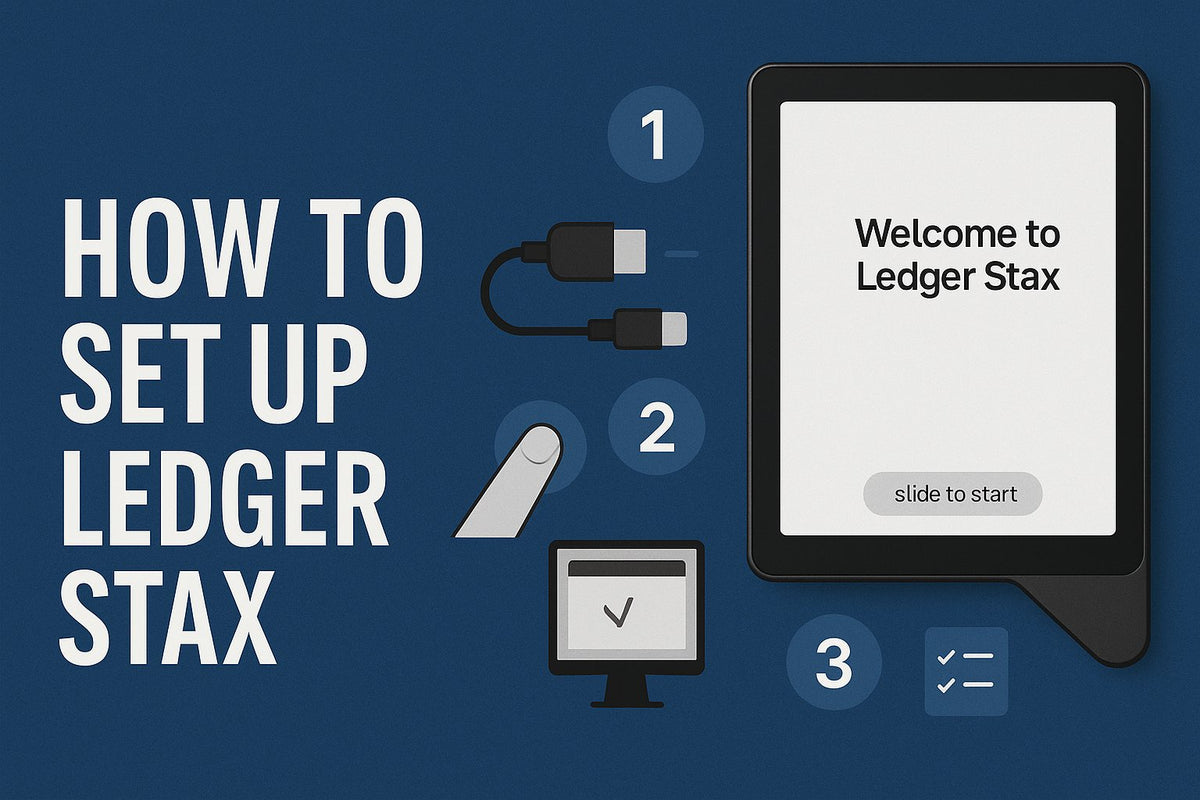
Start by carefully unboxing your Ledger Stax. Inside the package, you should find the following items:
🖥️ The Ledger Stax device
🔌 A USB-C charging cable
📝 Recovery phrase sheets
📖 A quick start guide
⚠️ Tip: Make sure the box is sealed and untampered with to ensure your device's authenticity and security.
Press and hold the power button on the side of your Ledger Stax. The screen will light up and display the Ledger logo, indicating the device is starting up.
Use the included USB-C cable to connect your Ledger Stax to your computer. Once connected, the device will prompt you to visit the Ledger Live website to begin the setup process.
💡 Tip: Make sure you're using a trusted computer and a secure internet connection during setup.
On your computer, head to the official Ledger Live website. Download the version that’s compatible with your operating system — whether it’s Windows, macOS, or Linux.
Once the download is complete, follow the on-screen instructions to install Ledger Live. After installation, open the application to begin the setup process.
🛡️ Reminder: Always download Ledger Live directly from Ledger’s official website to avoid counterfeit or malicious versions.
Open the Ledger Live app and click on “Get Started”. When prompted, select “Ledger Stax” from the list of available devices.
Ledger Live will ask you to initialize your device. Choose the option “Set up as new device” to begin the configuration process.
On your Ledger Stax, you'll be prompted to create a PIN code. This PIN is required every time you access your wallet.
✅ Tip: Choose a PIN that's easy for you to remember but difficult for others to guess. Avoid common combinations like "1234" or "0000".
Your Ledger Stax will now display a 24-word recovery phrase — this is the only backup of your wallet. If your device is ever lost, stolen, or damaged, this phrase is the only way to recover your crypto.
Use the recovery sheets included in the box to carefully write down each word in the correct order. Take your time and double-check your spelling. Even a single mistake can result in permanent loss of access.
⚠️ Important: Never store your recovery phrase digitally or share it with anyone. Ledger will never ask for it.
To ensure you wrote it down correctly, your device will prompt you to confirm the recovery phrase by selecting the words in the correct order.
Once you've written down your 24-word recovery phrase, store it in a safe and secure location — ideally somewhere fireproof, waterproof, and hidden from others.
🚫 Never:
Share your recovery phrase with anyone
Store it online or take a photo of it
Enter it on a computer or smartphone
Your recovery phrase is the key to your crypto — if someone gains access to it, they can access your funds. Treat it like your most valuable asset.
In the Ledger Live app, navigate to the “Manager” tab. Your Ledger Stax may prompt you to allow Ledger Manager — confirm this directly on the device to proceed.
Once inside the Manager, you’ll see a list of available apps for various cryptocurrencies such as Bitcoin (BTC), Ethereum (ETH), and many others.
Click “Install” next to the apps you need based on the coins or tokens you plan to manage.
💡 Tip: You can always install or remove apps later, depending on your portfolio and storage needs.
After installing the necessary apps, go to the “Accounts” tab in Ledger Live. Click “Add account”, then select the cryptocurrency (e.g., Bitcoin, Ethereum) you want to manage.
Follow the on-screen instructions to synchronize your Ledger Stax with Ledger Live and successfully add your account.
📌 Note: You’ll need to open the corresponding app on your Ledger Stax during this process for verification.
To receive funds, click the “Receive” button in Ledger Live.
Select the appropriate account, and your receiving address will appear.
Verify that the address displayed in Ledger Live matches the one on your Ledger Stax screen. Once confirmed, you can safely share the address with the sender.
🔐 Always verify the address on your device to prevent phishing or clipboard attacks.
To send crypto, click the “Send” button in Ledger Live.
Enter the recipient's wallet address and the amount you wish to send.
Ledger Live will ask you to verify and confirm the transaction directly on your Ledger Stax.
✅ Double-check the address and amount before approving any transaction.
Security is critical. Regularly check for firmware updates by going to the “Manager” tab in Ledger Live.
If an update is available, follow the prompts to install it.
⚠️ Firmware updates improve device performance and keep your Ledger Stax protected with the latest security enhancements.
Setting up your Ledger Stax may initially seem complex, but by following this detailed step-by-step guide, you can ensure that your device is properly configured and your digital assets are securely protected. Here's a recap of the key steps:
1. Unboxing and Initial Setup: Carefully unpack your Ledger Stax and connect it to your computer using the provided USB-C cable.
2. Installing Ledger Live: Download and install the Ledger Live application, the central hub for managing your device and cryptocurrencies.
3. Device Initialization: Set up your Ledger Stax as a new device, choosing a secure PIN and generating a 24-word recovery phrase.
4. Securing Your Recovery Phrase: Write down your recovery phrase and store it securely, as it is crucial for recovering your wallet in case of loss or damage.
5. Installing Cryptocurrency Apps: Use Ledger Live to install the necessary apps for managing different cryptocurrencies on your Ledger Stax.
6. Adding Accounts and Managing Funds: Add accounts for your cryptocurrencies in Ledger Live and follow the steps to receive and send funds securely.
7. Keeping Your Device Updated: Regularly check for firmware updates in Ledger Live to ensure your device remains secure with the latest features.
By adhering to these steps, you safeguard your assets against potential online threats and unauthorized access. The combination of Ledger Stax's advanced security features and your diligent management provides a robust defence for your digital wealth.
Additionally, remember these best practices for maintaining the security of your Ledger Stax and cryptocurrency holdings:
- Never share your PIN or recovery phrase with anyone.
- Store your recovery phrase in a physical, secure location, avoiding digital storage methods susceptible to hacking.
- Regularly update your firmware to benefit from the latest security enhancements and features.
- Verify addresses on your Ledger Stax screen before completing any transactions to prevent man-in-the-middle attacks.
Using the Ledger Stax not only enhances the security of your crypto assets but also provides peace of mind knowing that your investments are protected. Whether you're a novice investor or a seasoned crypto trader, the Ledger Stax is a valuable tool in your security arsenal, helping you manage your assets with confidence and ease.
Nearchos Nearchou
Nearchos Nearchou is a determined person and 1st Class BSc (Hons) Computer Science and MSc Cyber Security graduate. He is a big tech-lover and spent several years exploring new innovations in the IT field. Driven by his passion for learning, he is pursuing a career in the Cyber Security world. Passionate about learning new skills and information that can be used for further personal and career development. Finally, he is the author of the book “Combating Crime On The Dark Web”.
| Price |
|---|
| SKU |
| Rating |
| Discount |
| Vendor |
| Tags |
| Weight |
| Stock |
| Short Description |
Description here


